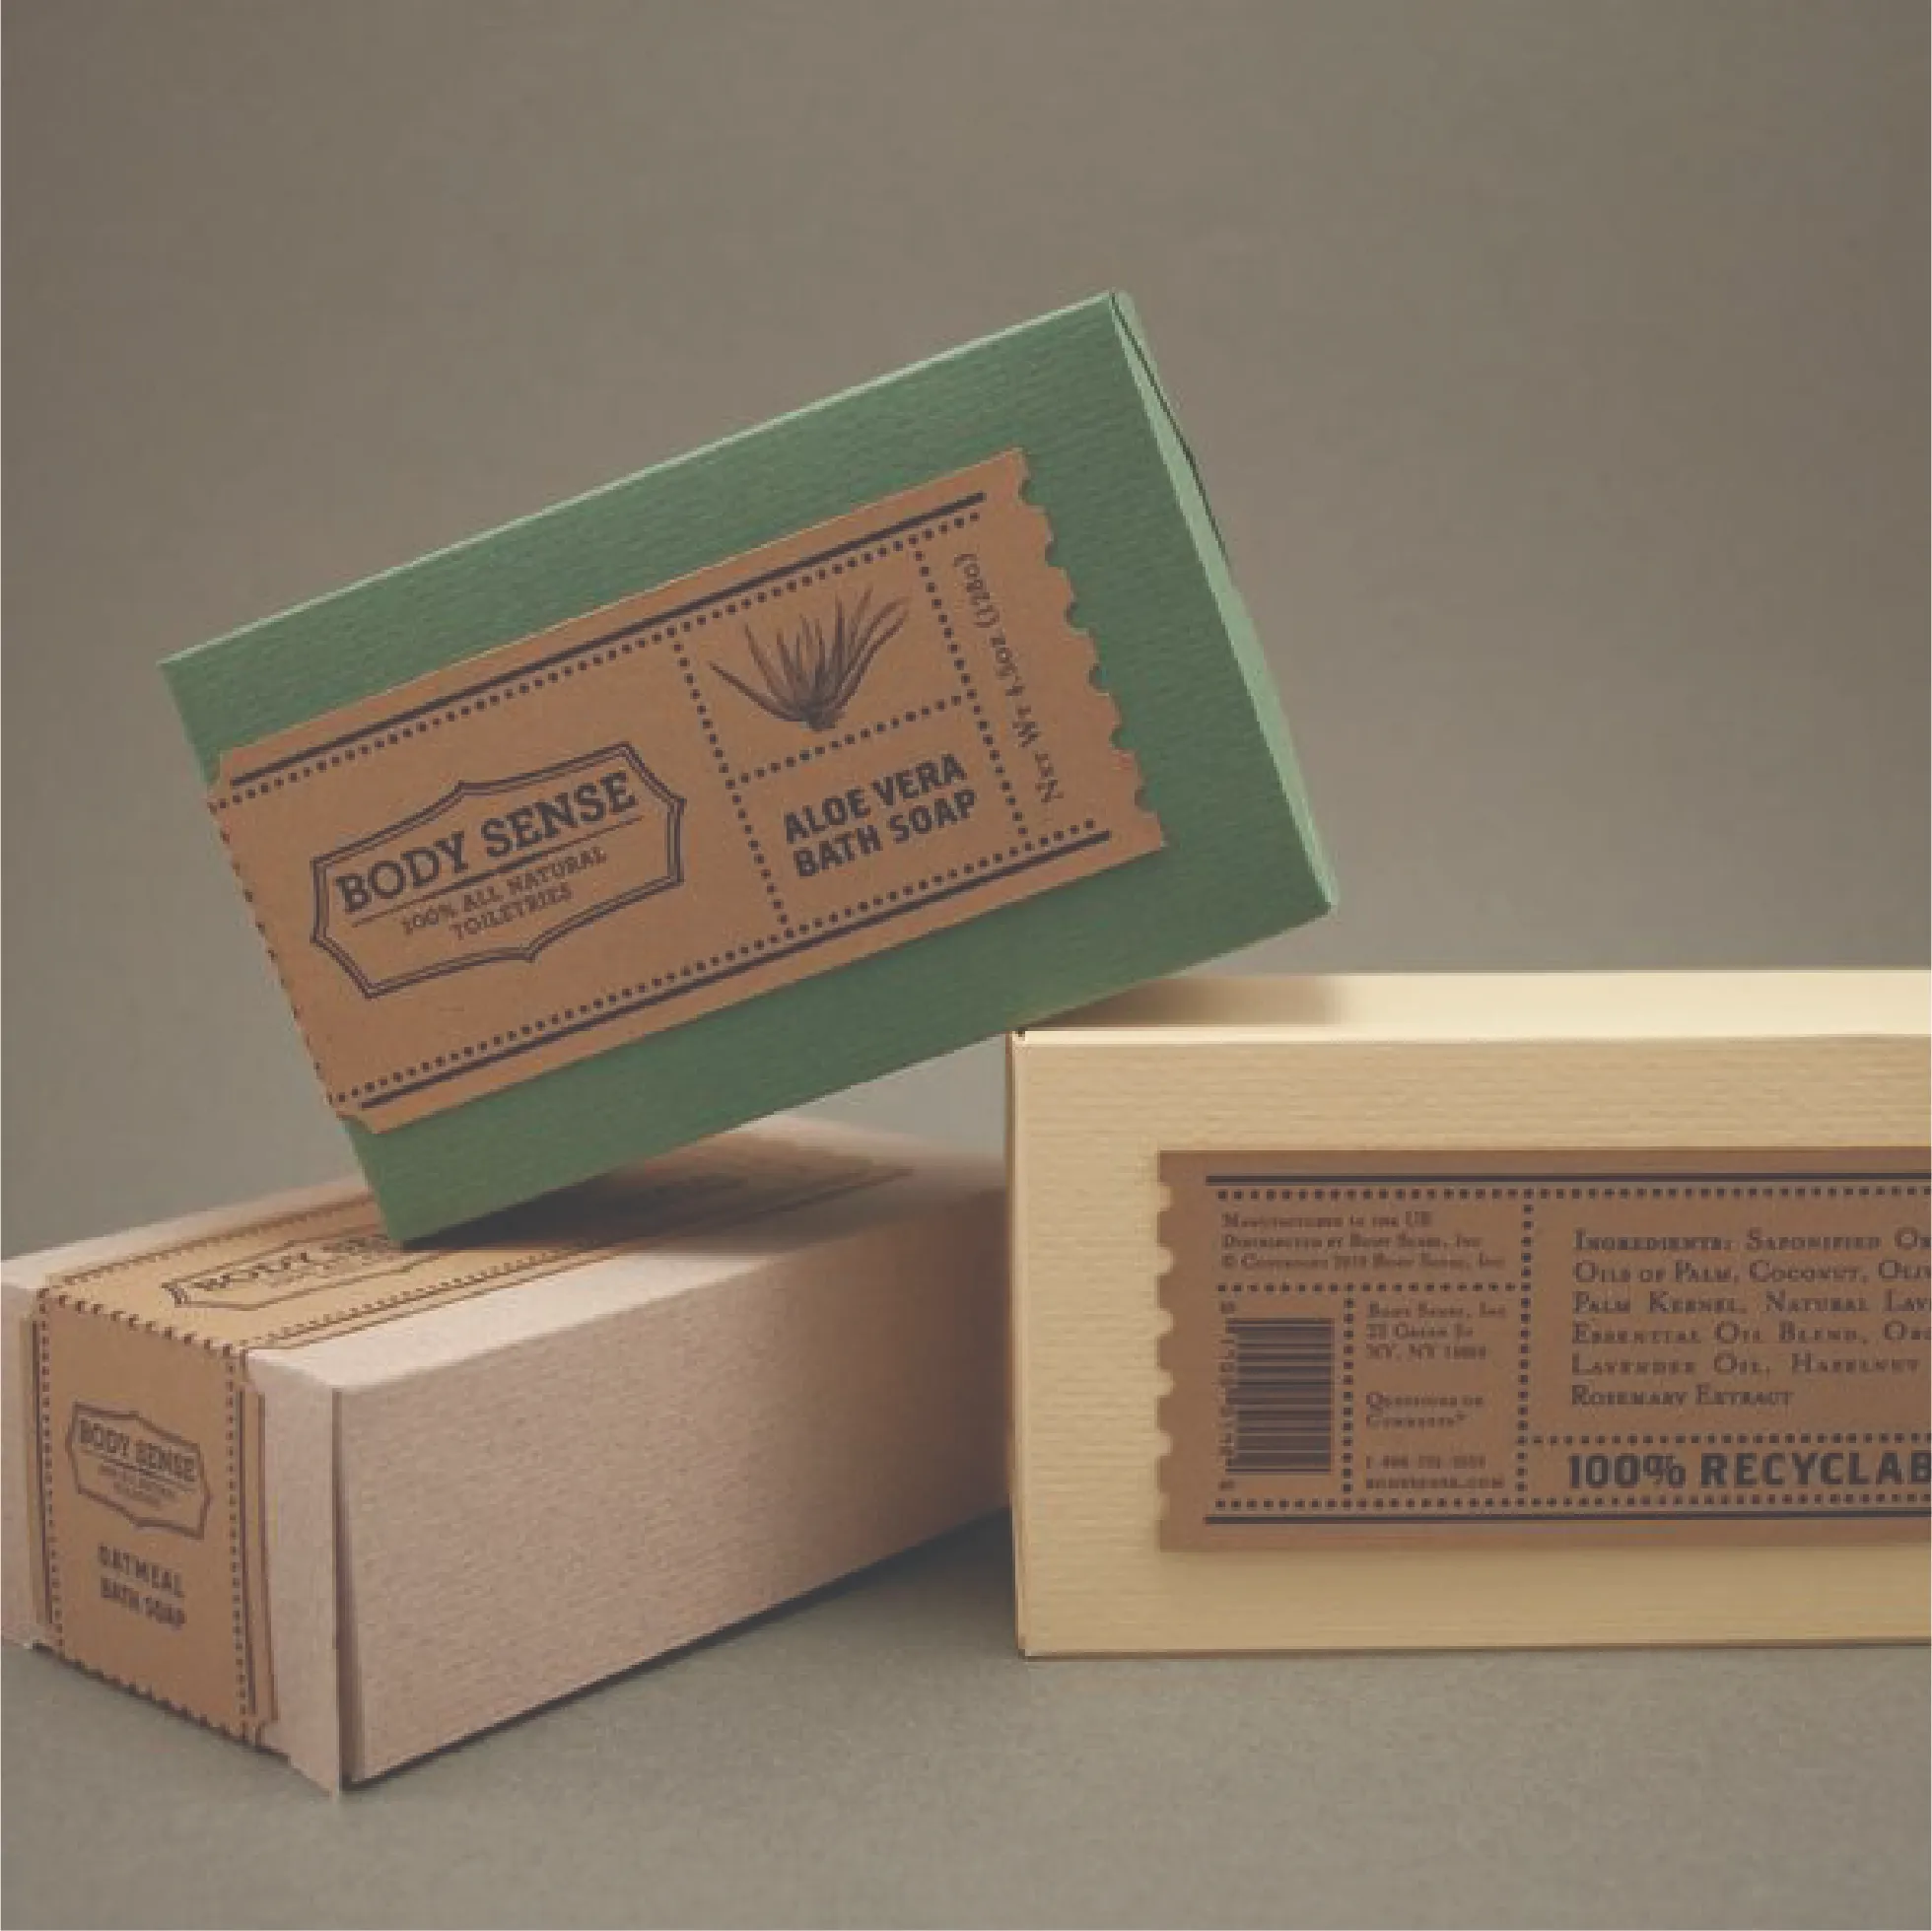
Mylar Bags
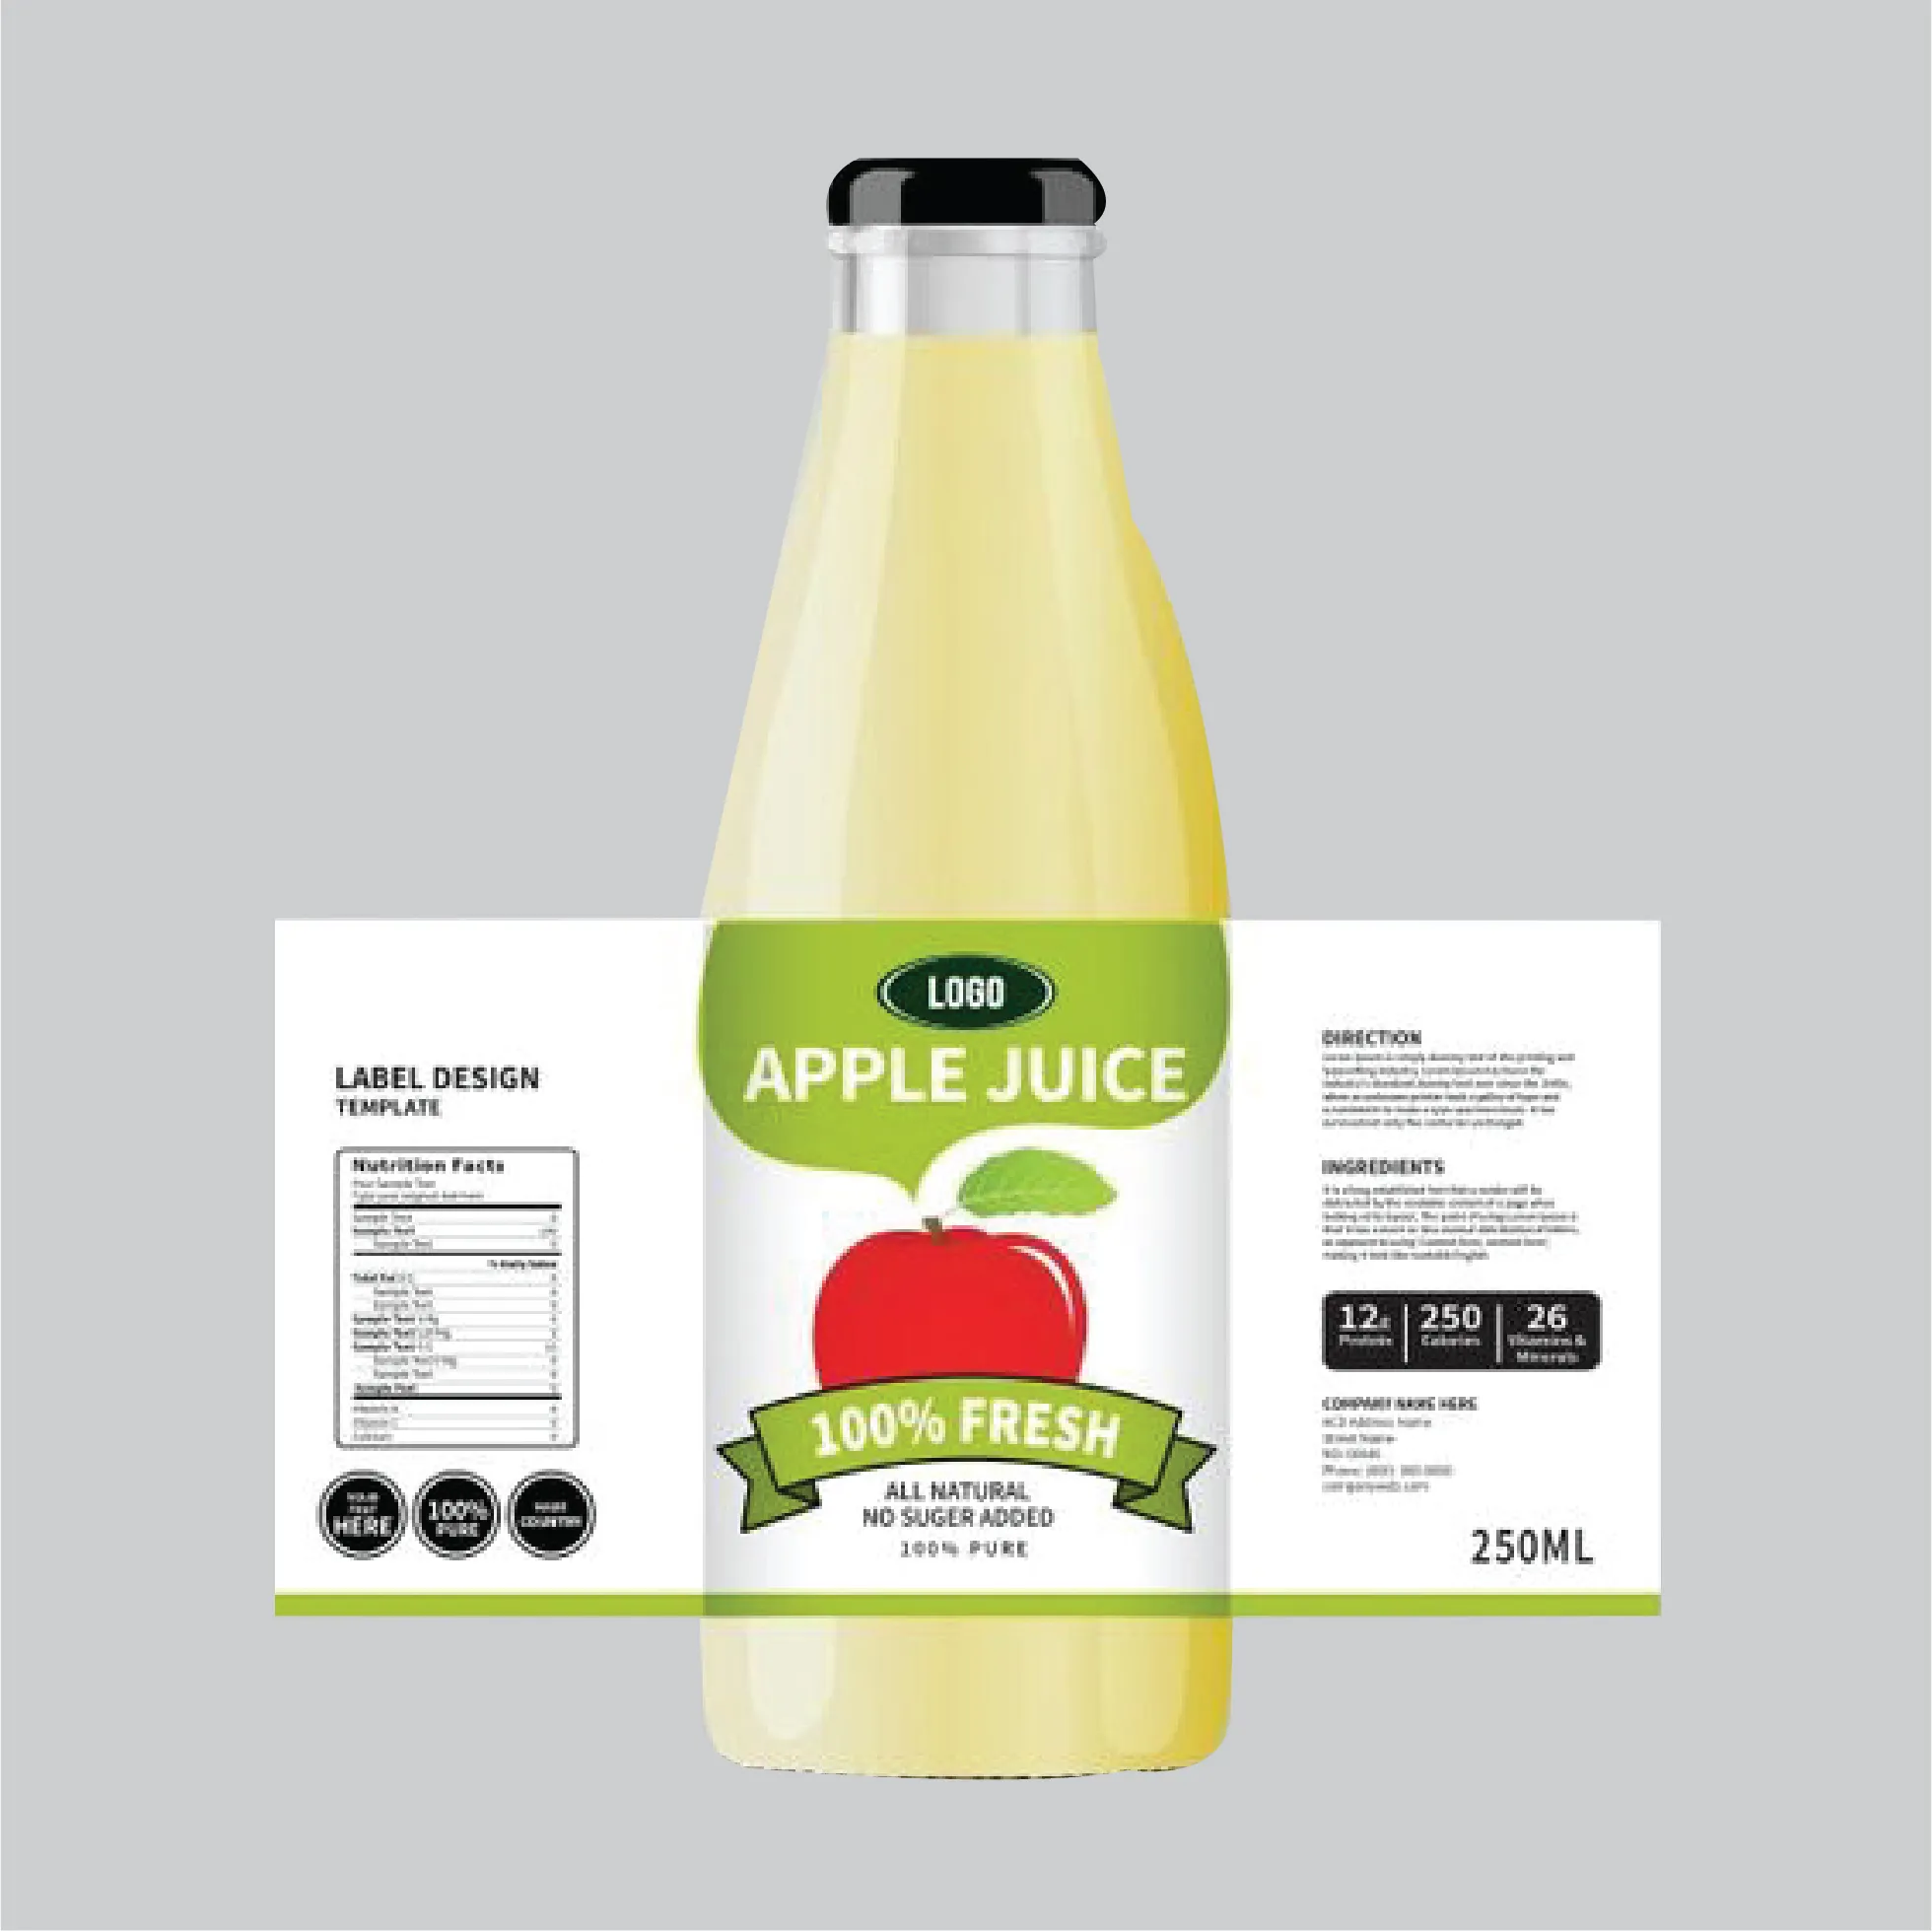
 Custom Labels
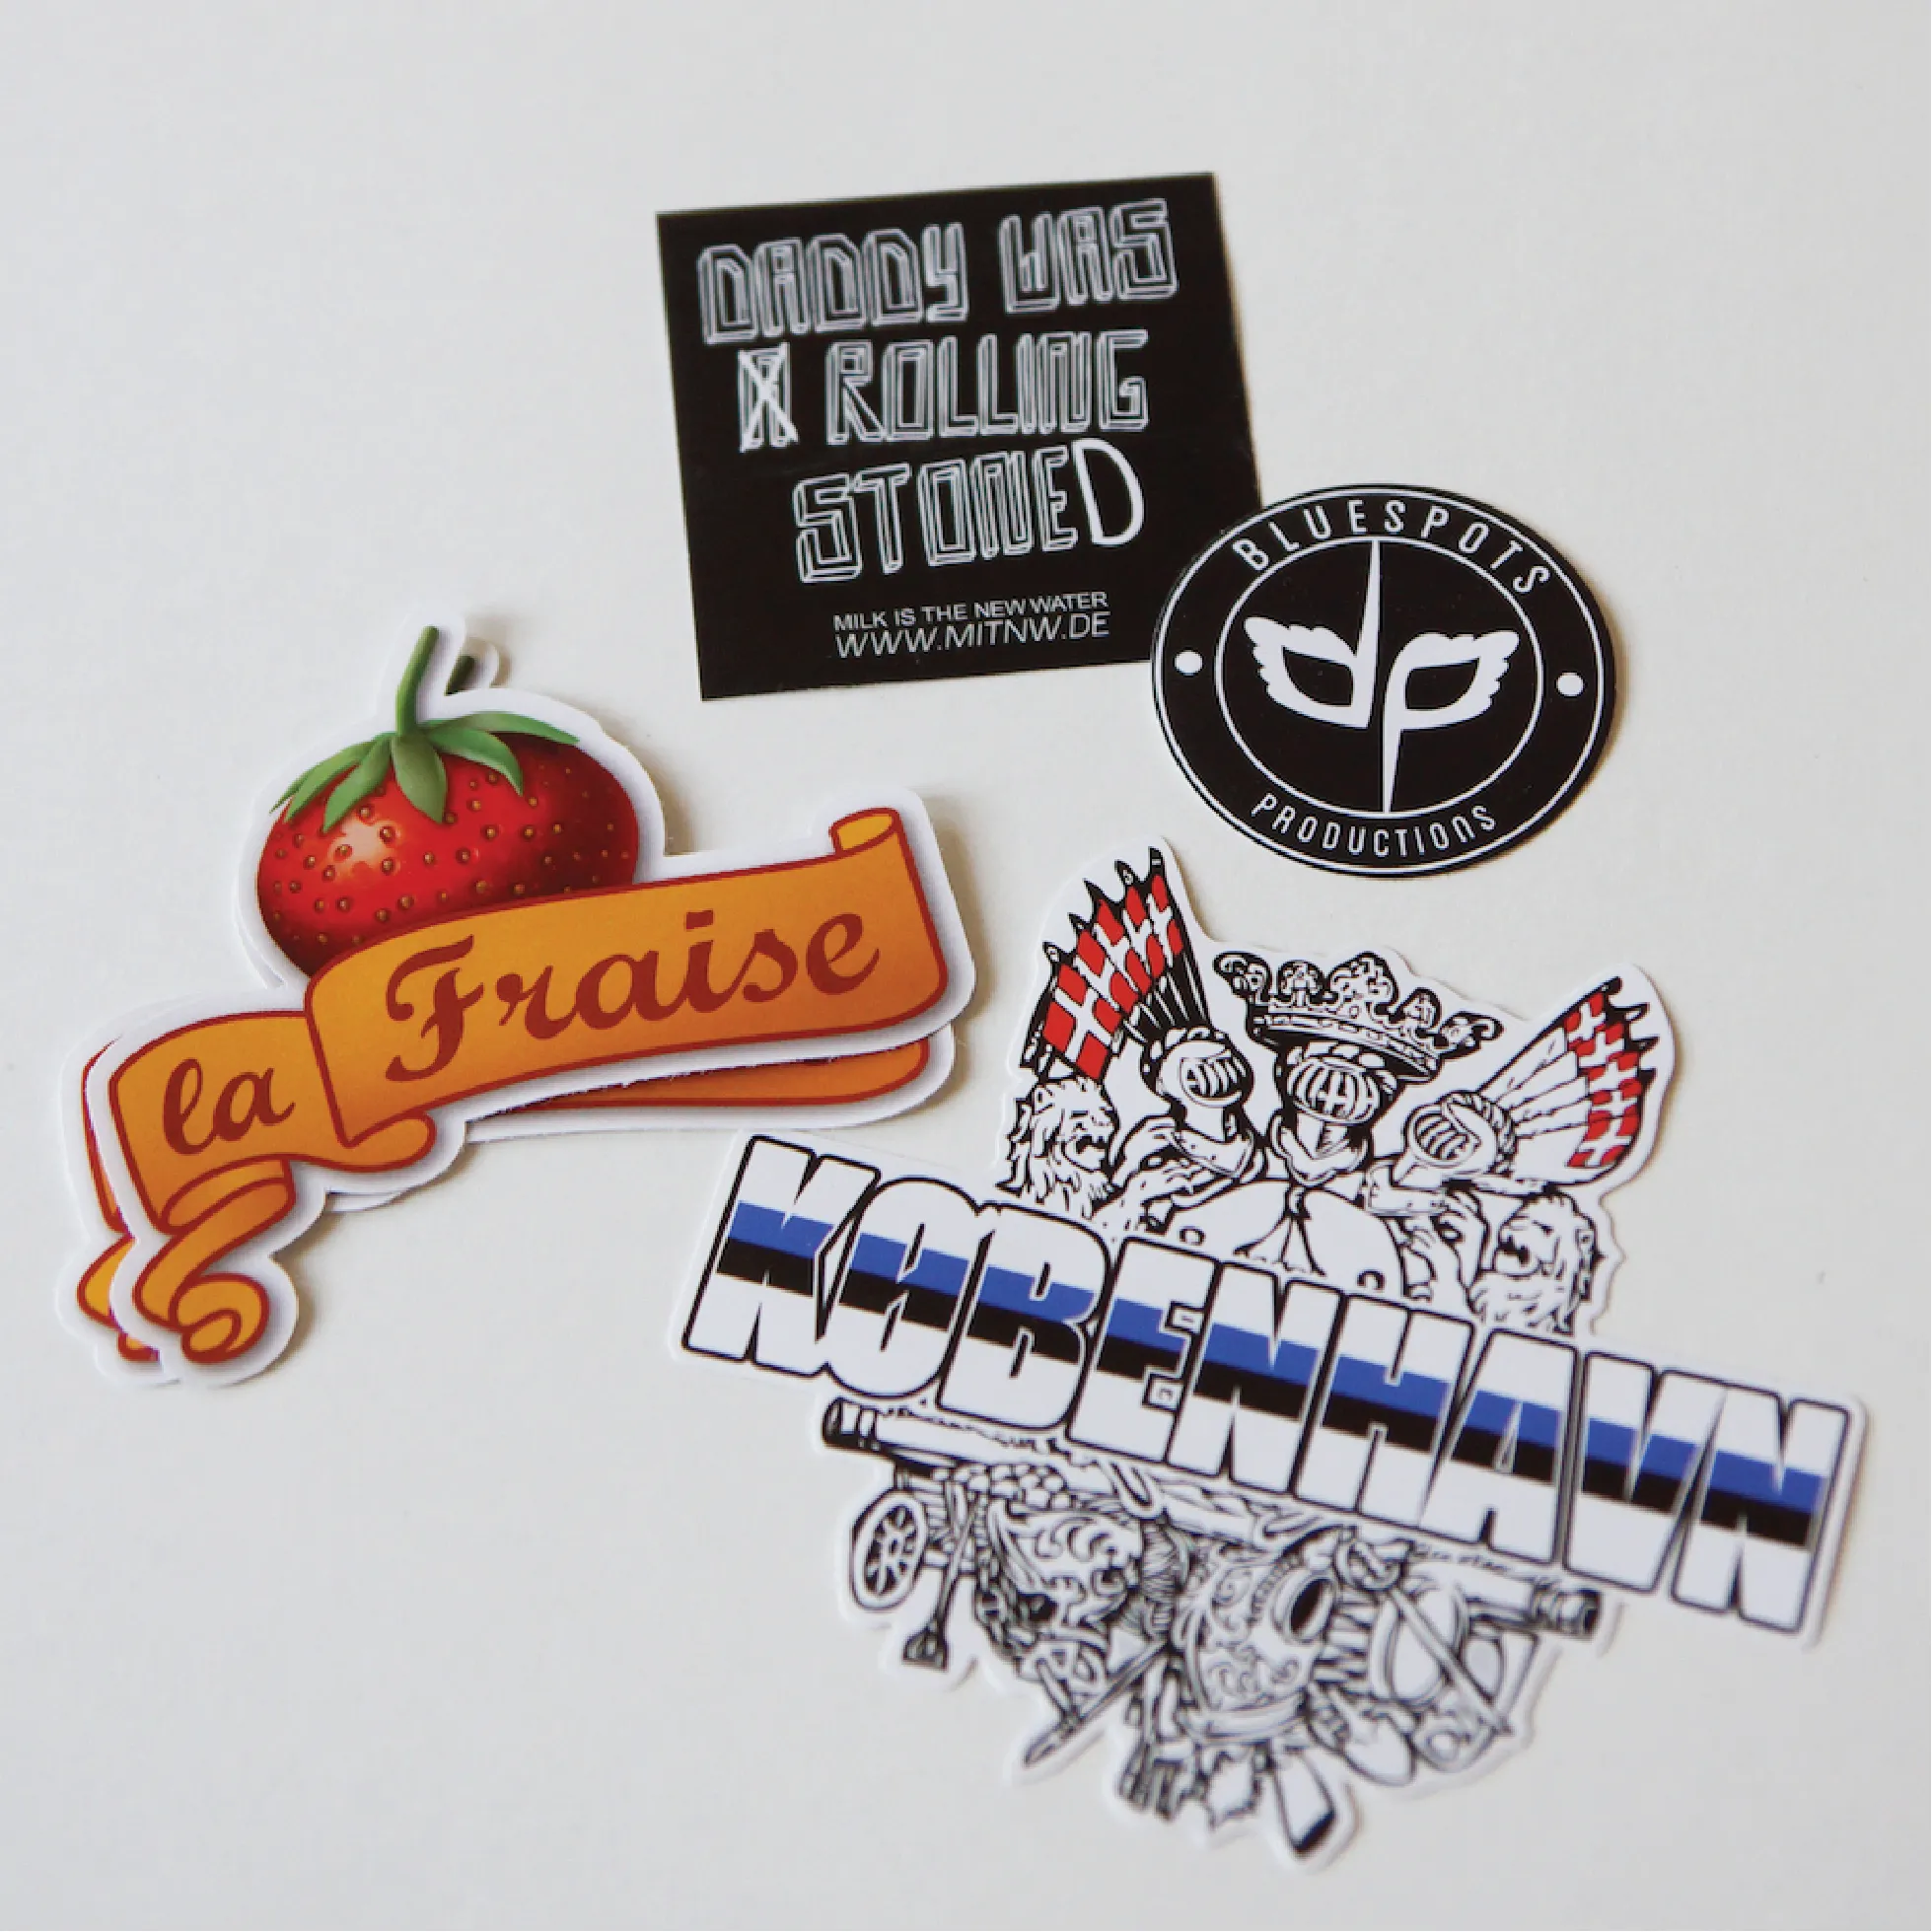
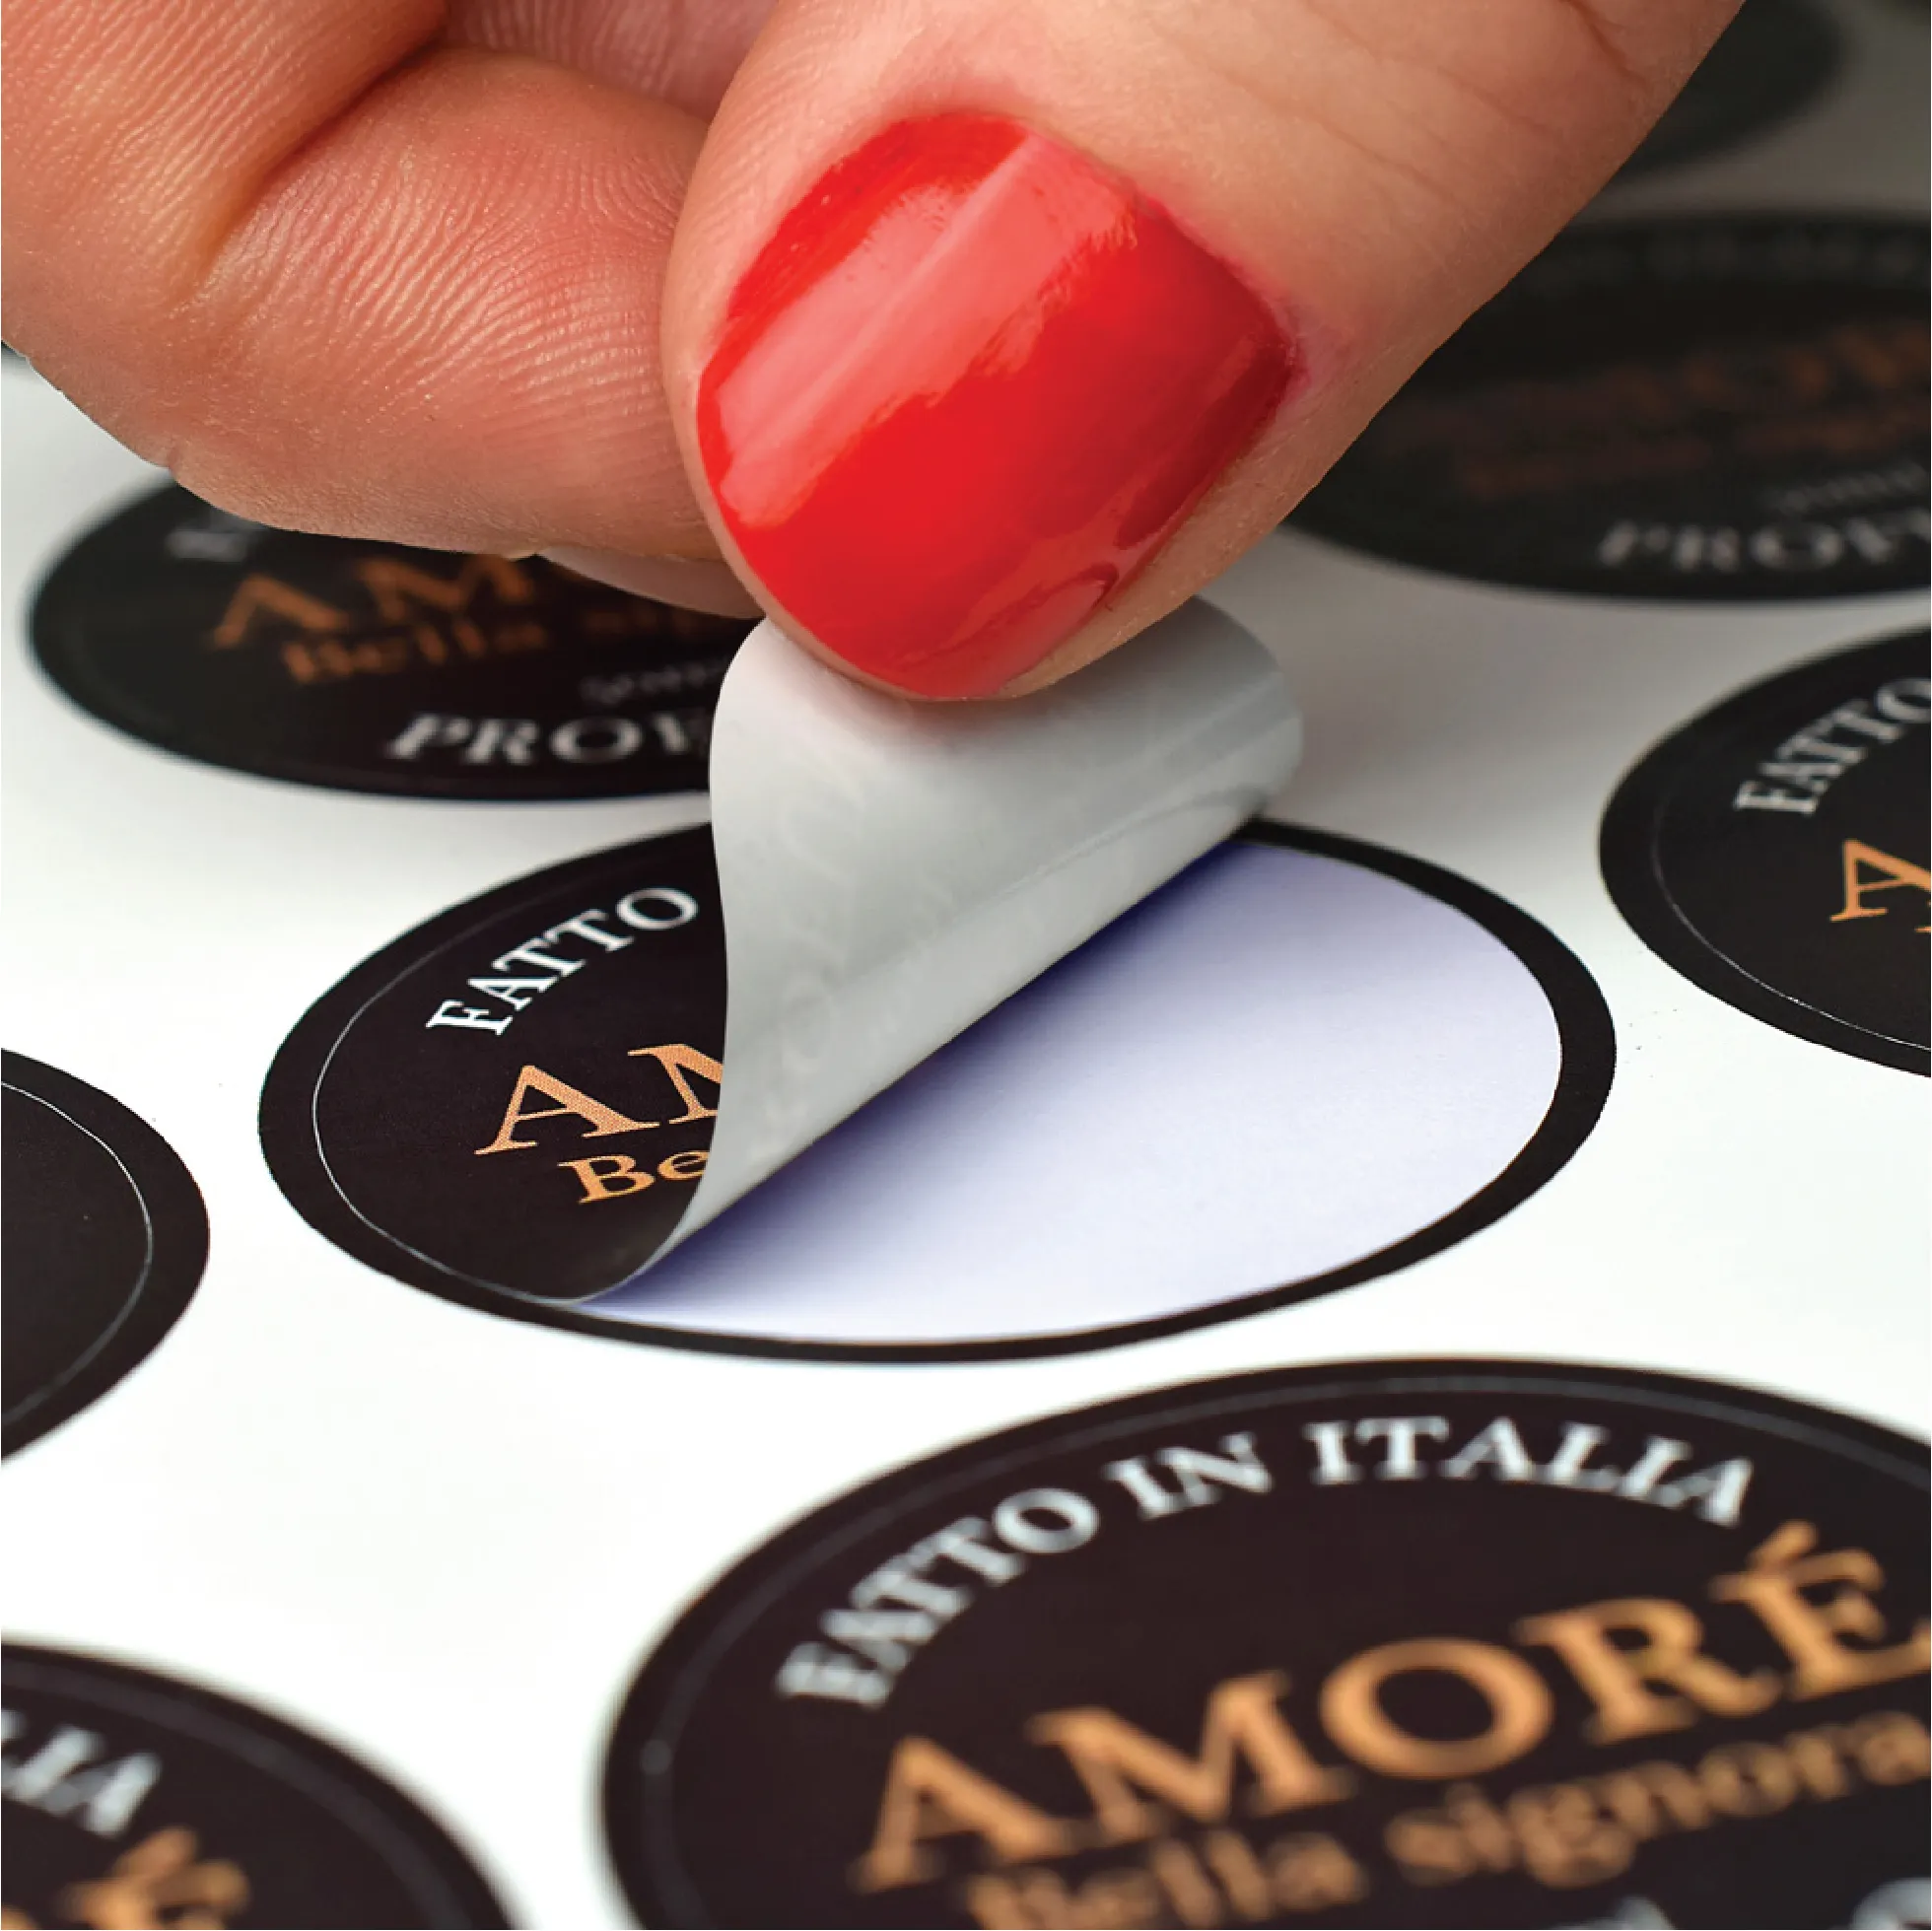
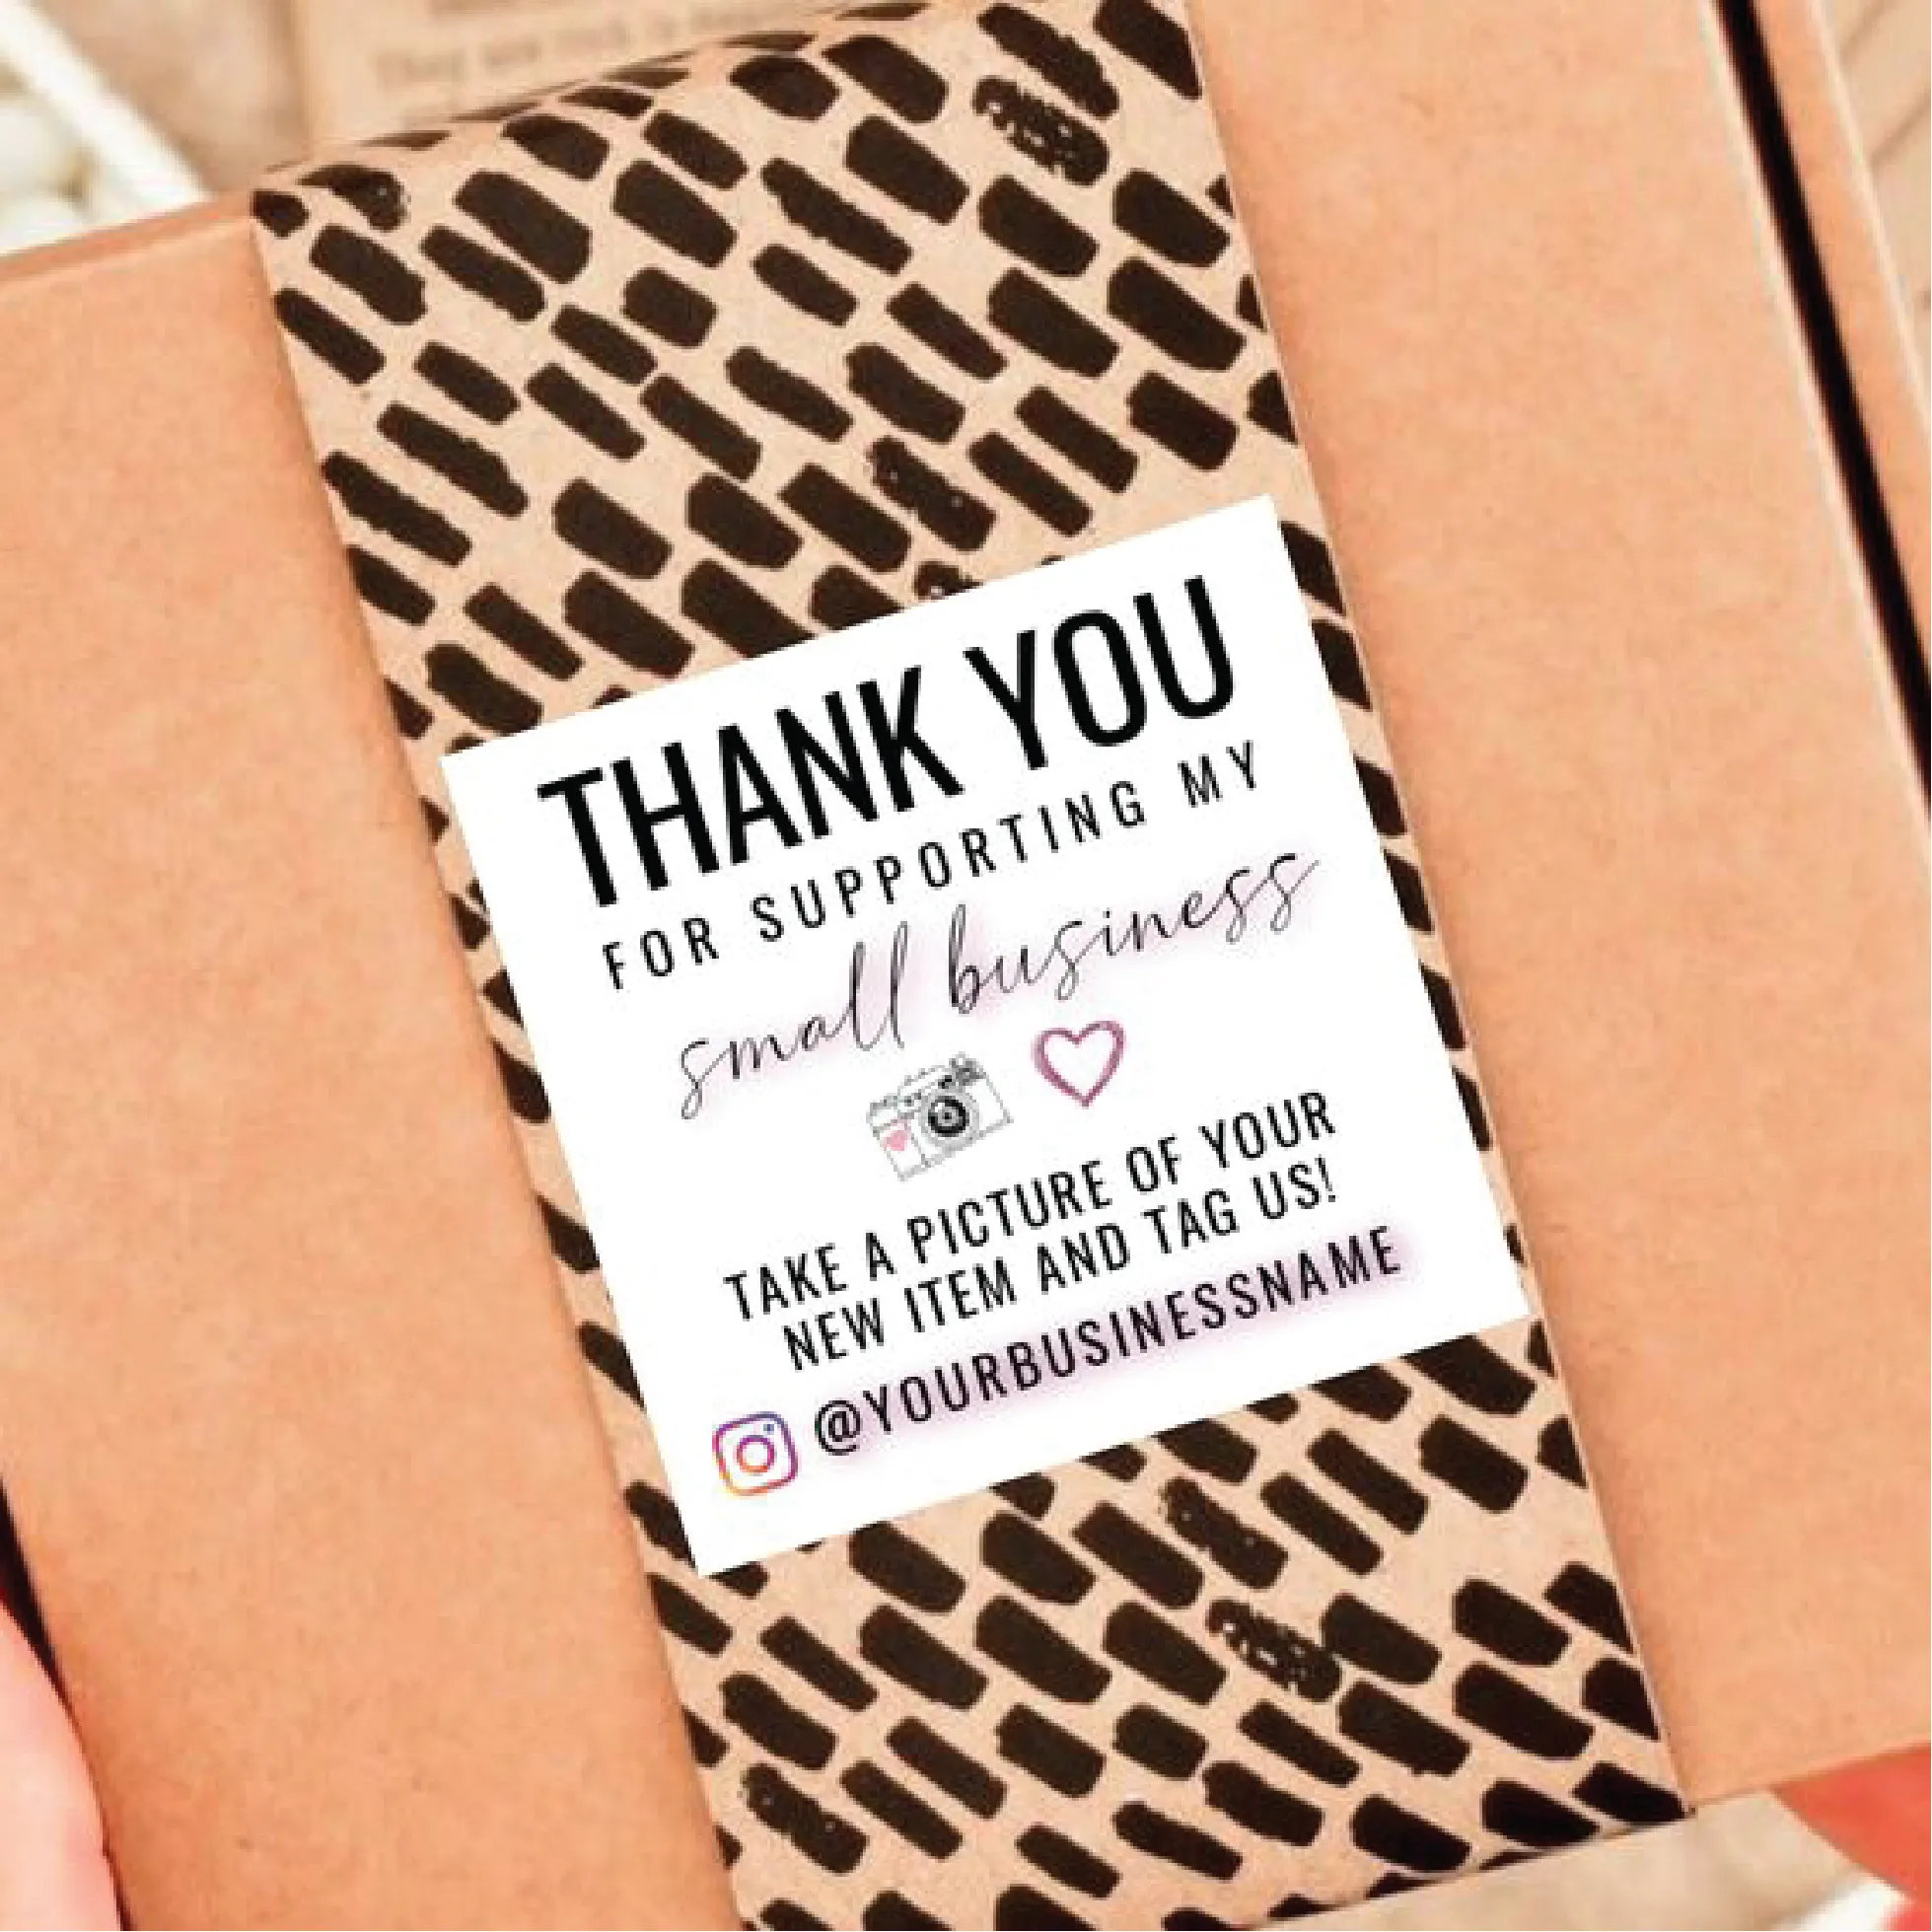
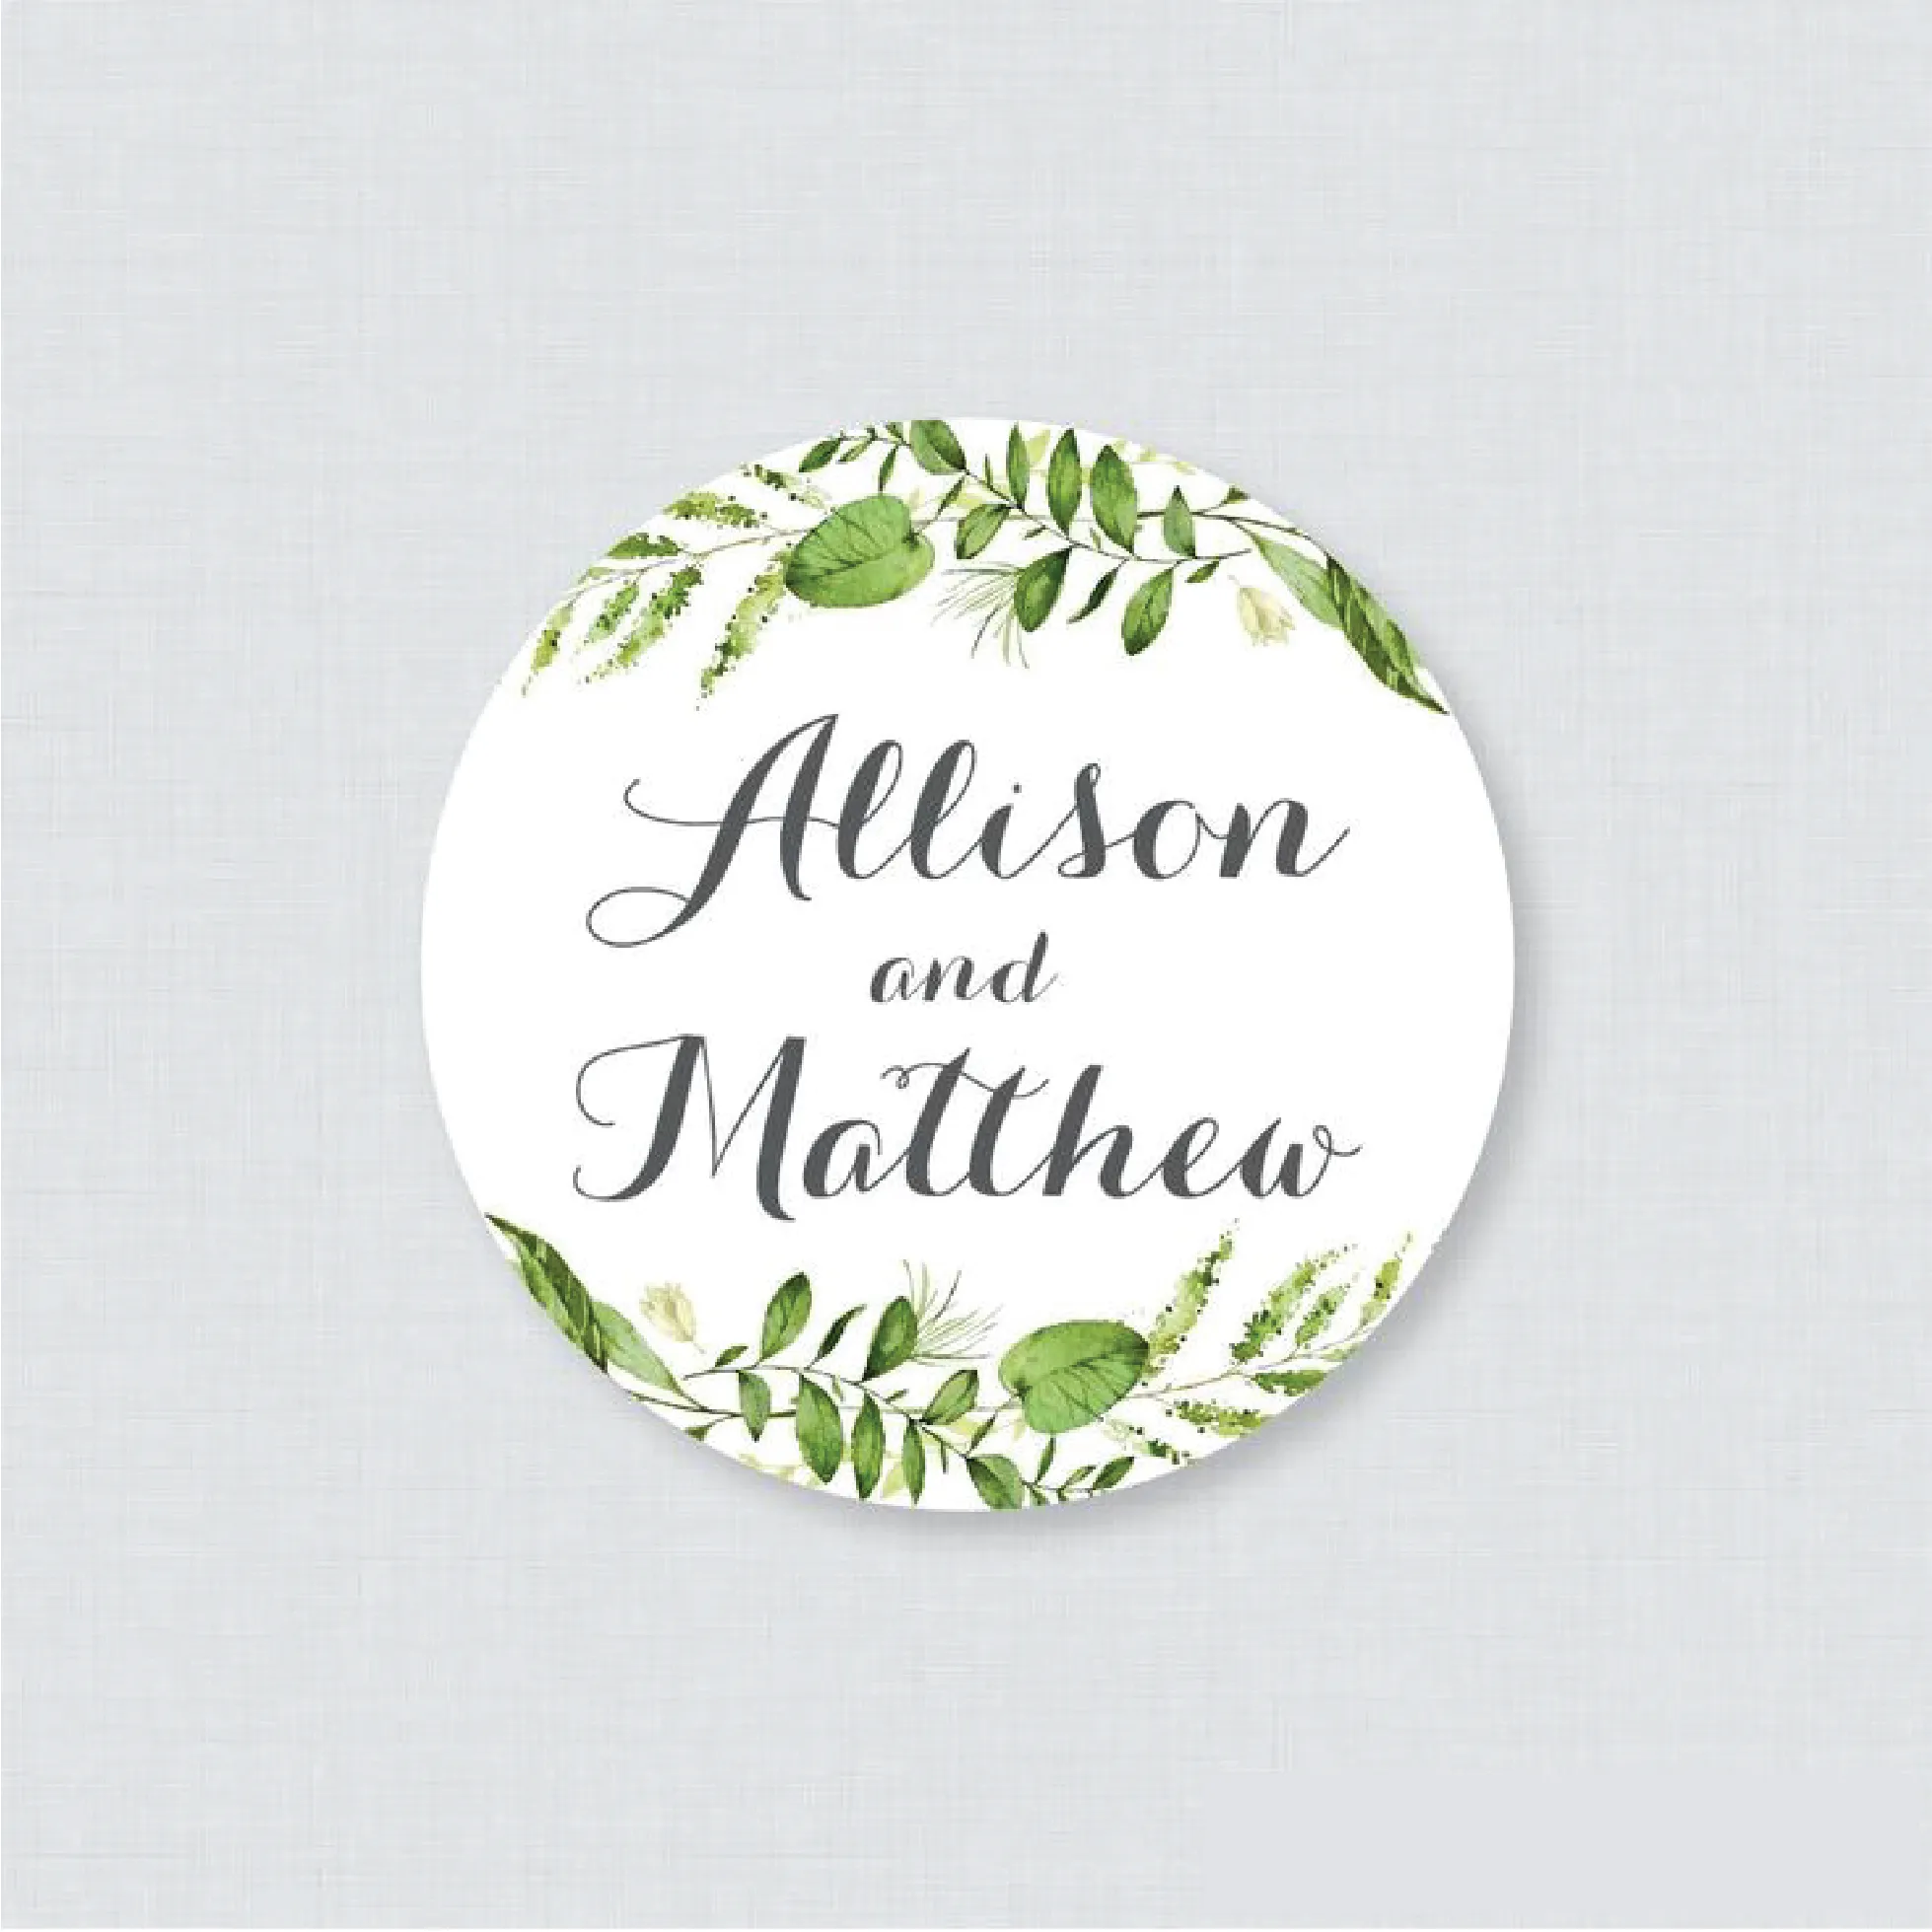
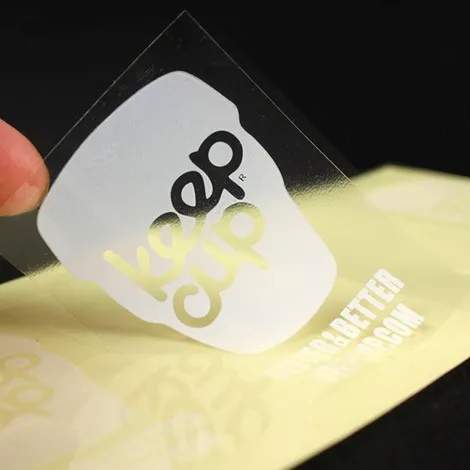
 Custom Sticker
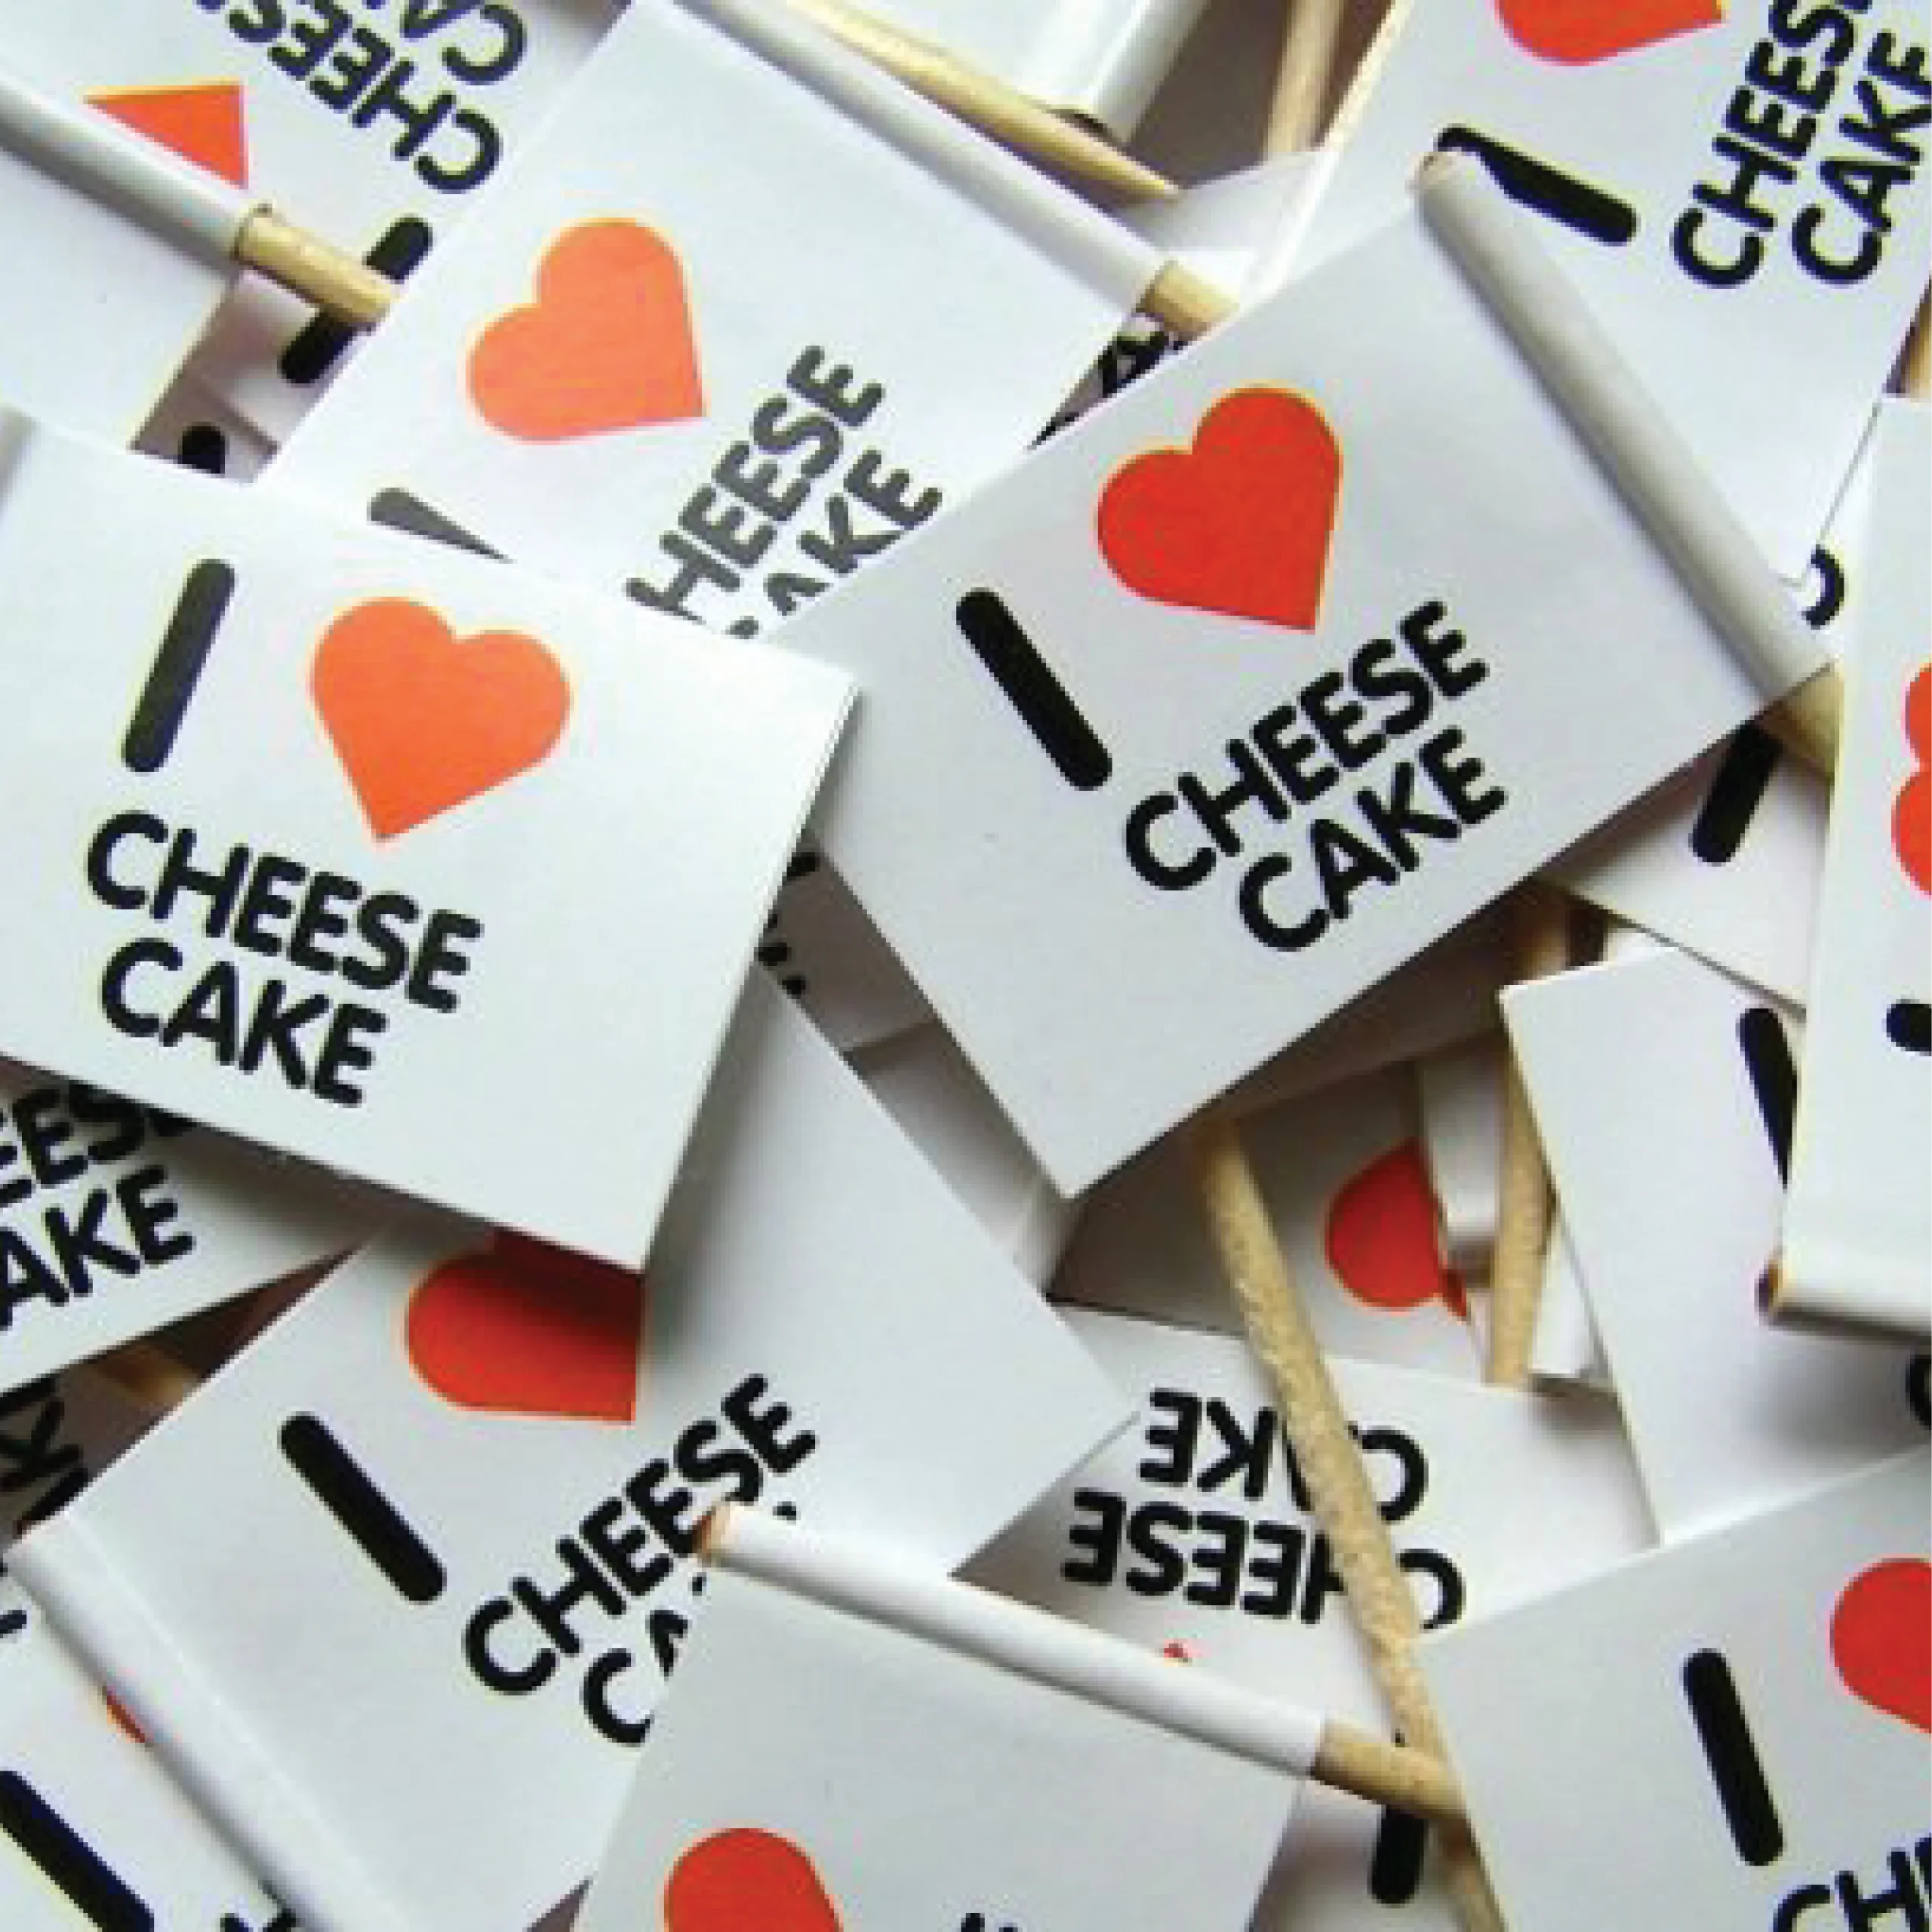
Cupcake Flags
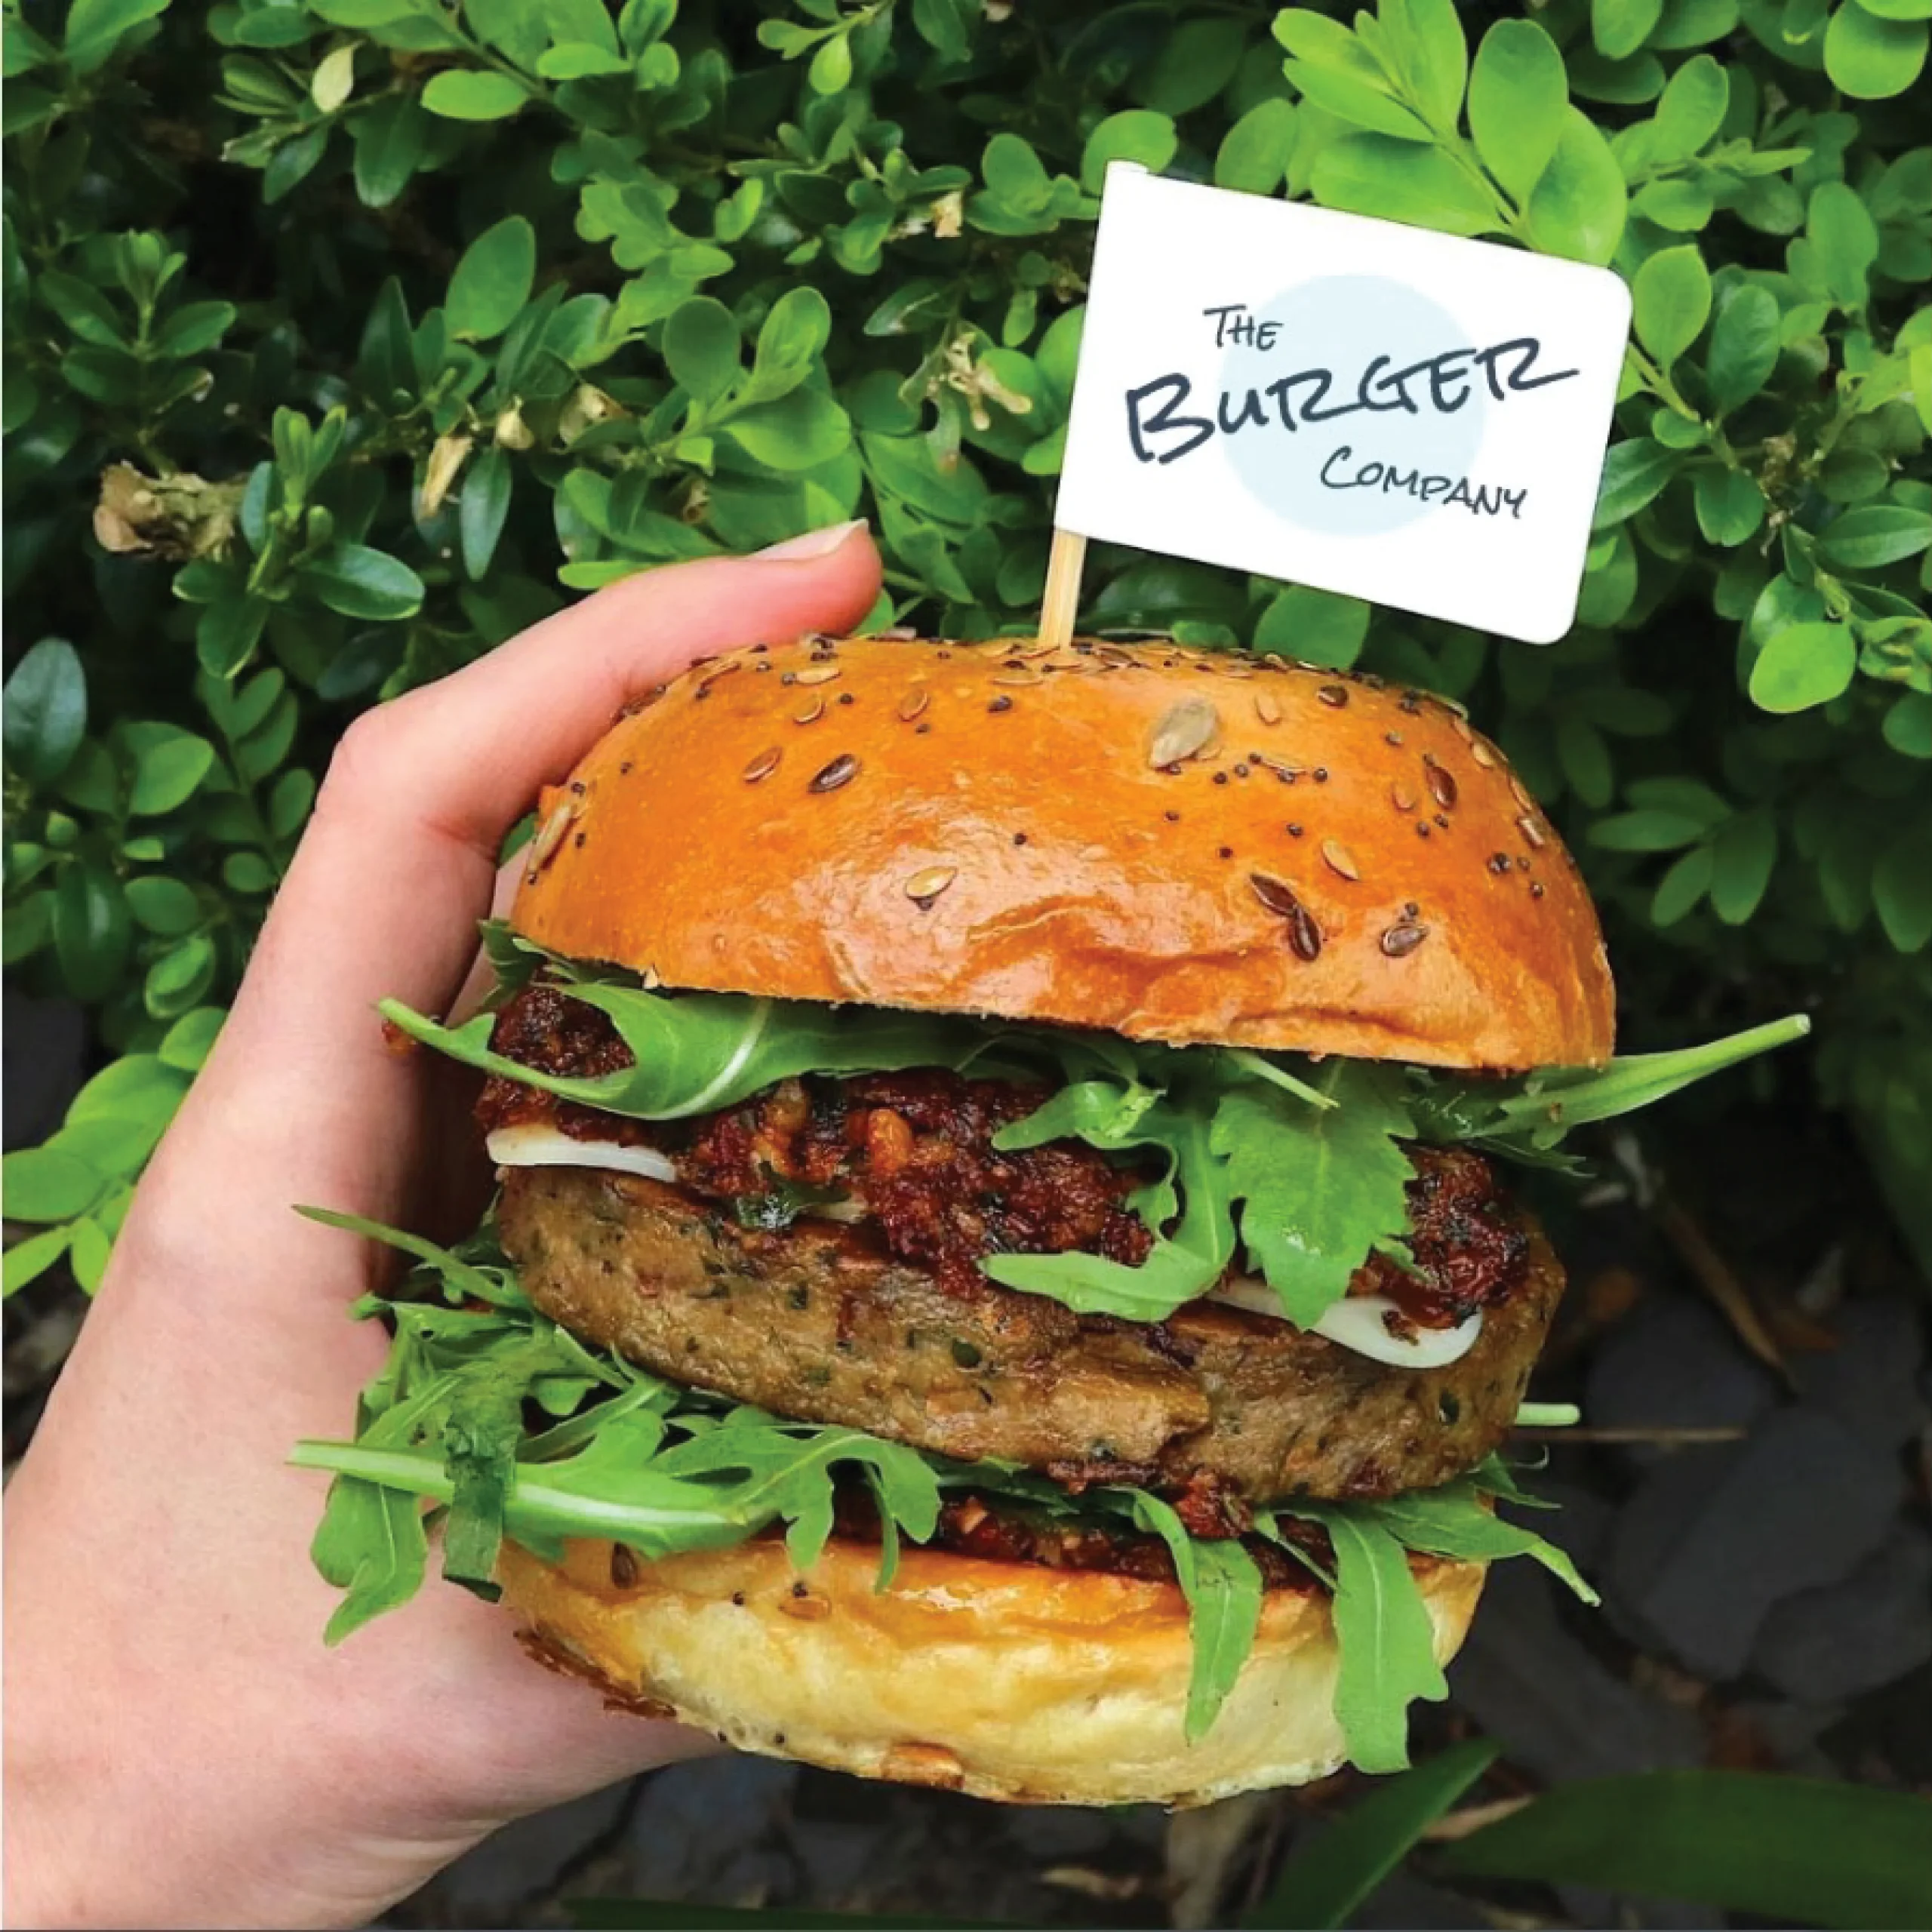
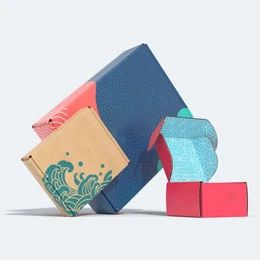
Looking for something unique for your branding? Cupcake flags are a fun and easy way to decorate your cupcakes and make them look more appealing, professional, rare, and festive. Whether you want to celebrate a birthday, a wedding, an anniversary, or any other special occasion, custom cupcake flags from BoxesGen can add a touch of color, personality, and charm to your delicious treats.
Availability: In stock
Sample Price: $0.10 per item
Why BoxesGen
- Order a Sample Box for $0.10
- Free Shipping Across the United States
- Fast Production & Reliable Delivery
- Free Design Support
- Premium Quality Guaranteed
- Transparent Pricing – No Hidden Fees
Send Us Inquiry


Design
Get Cupcake Flags Designed in Your Desired Shape, Size and Style

Get Cupcake Flags Printed With Your Desired Artwork And Colors

Get It Done
Get Cupcake Flags At Wholesale Prices. Low MOQs. No Die or Plate Charges
| Box Style | Cupcake Flags |
| Dimension (L + W + H) | All Custom Sizes & Shapes |
| Quantities | Low Minimum Order Required |
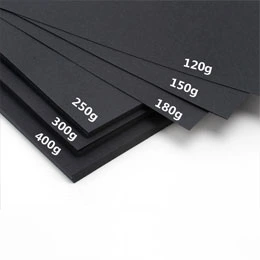
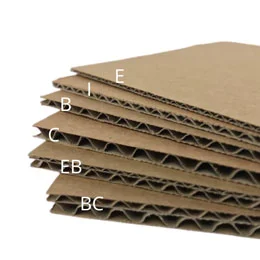
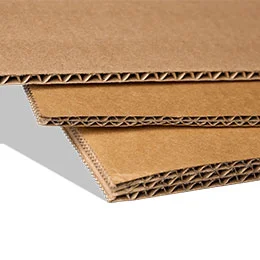
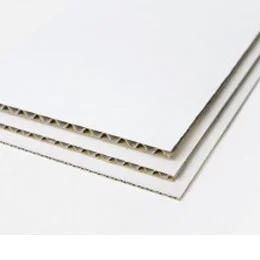
| Stock | 10pt to 28pt (60lb to 400lb) Eco-Friendly Kraft, E-flute Corrugated, Bux Board, Cardstock |
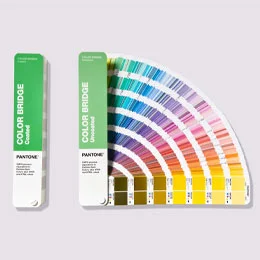
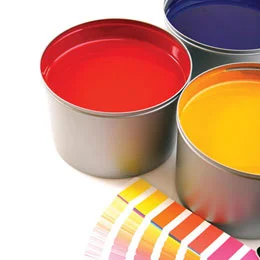
| Printing | No Printing, CMYK, CMYK + 1 PMS color, CMYK + 2 PMS colors |
| Finishing | Gloss Lamination, Matte Lamination, Gloss AQ, Gloss UV, Matte UV, Spot UV, Embossing, Foiling |
| Included Options | Die Cutting, Perforation |
| Additional Options | Eco-Friendly, Recycled Boxes, Biodegradable |
| Proof | Flat View, 3D Mock-up, Physical Sampling (On request) |
| Turnaround | 2 - 4 Business Days, RUSH |
| Shipping | FREE |
Business Benefits of Using Cupcake Flags Printable
Some of the business benefits of using personalized cupcake toothpick flags are:
- They can promote your brand and increase your visibility by displaying your logo, name, slogan, or message on both sides of the food flag.
- They can attract customers and make your cupcakes stand out by adding a touch of color, creativity, and personality to your treats.
- They can enhance customer experience and satisfaction by providing a convenient and hygienic way to handle and enjoy your cupcakes.
- They can create a lasting impression and encourage word-of-mouth marketing by making your cupcakes memorable and shareable on social media.
- They can celebrate special occasions and events by customizing your custom stickers printing flags with themes, images, or texts that suit your purpose.
Why Choose BoxesGen for Cupcake Flags
BoxesGen can create custom mini cupcake flags for you that match your brand’s theme, style, logo, slogans, and preferences. With BoxesGen, you can choose from a wide range of customization options for your branded cupcake flags. Some of the reasons why you should choose BoxesGen for toothpick flags are:
- Turn your product into a brand.
- Full customization options.
- Inspire your customers.
- Preserve the taste of edibles.
- Fastest turnaround time in the market.
- Quick quote on your order.
- Bulk orders at wholesale prices
- Free shipping across the USA.
Get A Quick Estimate
Get your hands on our state-of-the-art custom cupcake flags. At BoxesGen, we have a diverse range of mini cupcake flags that you can customize according to your size, shape, designs, colors, and pattern needs. Get an instant quote about custom box printing on your order by contacting us at 302-778-9458 or emailing us at sales@boxesgen.com. We offer a fast turnaround time of 8-10 business days and no minimum or maximum order quantities so you can order as many custom cupcake flags as you need and get them delivered quickly and easily.
Artwork Preparation Guide
At BoxesGen, our Artwork Preparation Guide helps ensure your custom packaging design is print-ready for high-quality results. To get started, submit vector files (AI, EPS, or PDF) in CMYK color mode, with a 1/8 inch bleed and 300 DPI resolution. Convert all text to outlines and keep it at least 1/4 inch from the edges. Review your proof to ensure accuracy before submitting. Following these steps will guarantee your design is perfectly printed on your custom boxes.
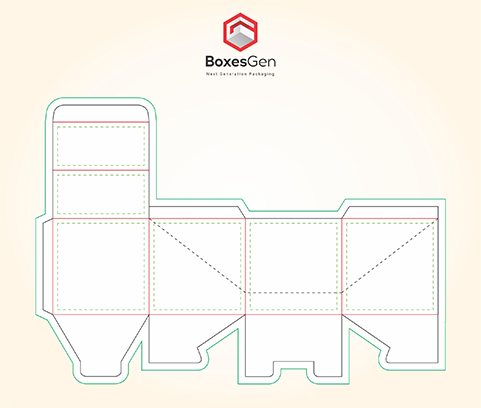
Cut Line (Black Lines):
The cut line is the outline that marks where your custom packaging will be trimmed. It is typically represented by a solid black line in your artwork file.
Perforation (Dotted Black Lines):
Perforation lines, shown as dotted black lines, indicate where the box will have small, evenly spaced holes for easy tearing or separation. These are often used for tear-away sections.
Bleed Line (Green Lines):
The bleed line is the area extending beyond the cut line, usually marked with a green line in your artwork. Typically, a 1/8 inch (0.125") bleed is required to prevent any unwanted white borders.
Safety Margin (Dotted Green Lines):
The safety margin, marked by dotted green lines, is the area around the cut line where important elements (such as text, logos, or graphics) should be kept clear.
Crease Line (Red Lines)
The crease line, marked by red lines in your artwork, indicates where the box will be folded during production.
How To Make Flags For Cupcakes?
The very easy step is to contact a top-rated packaging site like BoxesGen, which has 20+ years of industry experience. Our flags for cupcakes are crafted with attention to detail to ensure they complement the occasion and leave a lasting impression on guests.
What Sizes Are Available For A Cupcake Flag?
Our cupcake flags generally come in 1 to 2 inches in width with a stick length of 3 to 5 inches. You are free to modify the size based on design and branding needs.
Do We Offer Design Assistance On Individual Orders?
Absolutely yes, we have an in-house design team that ensures every order resonates with brand goals and product value for a unique presentation.
Do We Offer Free Samples Before Final Production?
Absolutely, we do provide 3D samples to our valued clients so they can review the material quality, size, color, and finishes before bulk production. This approach really saves time and money with complete satisfaction.
What Is Our Turnaround Time?
Our turnaround time is 8-11 business days. However, the delivery date may vary depending on order quantity and delivery address.